We will soon be removing the TeamClock Chrome App from the PayrollHero System.
-
15th Nov: TeamClock Chrome app will pulled from Chrome Web Store
-
21st Nov: teamclock.payrollhero.com will direct to the New TeamClock
-
31st Dec: Support is pulled out for the TeamClock Chrome
The TeamClock Manager Mode has a few extra edit features over the regular user mode.
Click Here To read the Chrome TeamClock User Manual.
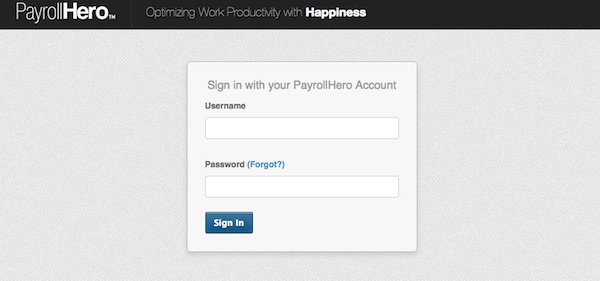
Logging in Chrome TeamClock
When you open the TeamClock app you will be welcome by the following screen.
Simply type in your username and password.
If you forgot your password, click on the “Forgot?” button to start the password recovery process.
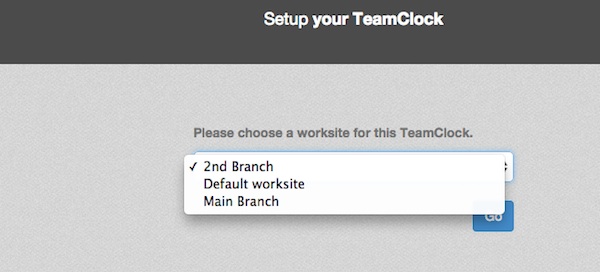
After succesfully logging in, you will be asked to select the worksite for the TeamClock. Choose from the drop down menu which location you are at and click on Go. (You will only be able to view and edit employees on the selected worksite)
Now you are logged in and should be on the TeamClock Main Screen!
Accesing the Management Options
To access the TeamClock Schedule Edit Options, click on the Menu button at the top left and then select Edit Schedules underneath the Managementtab.
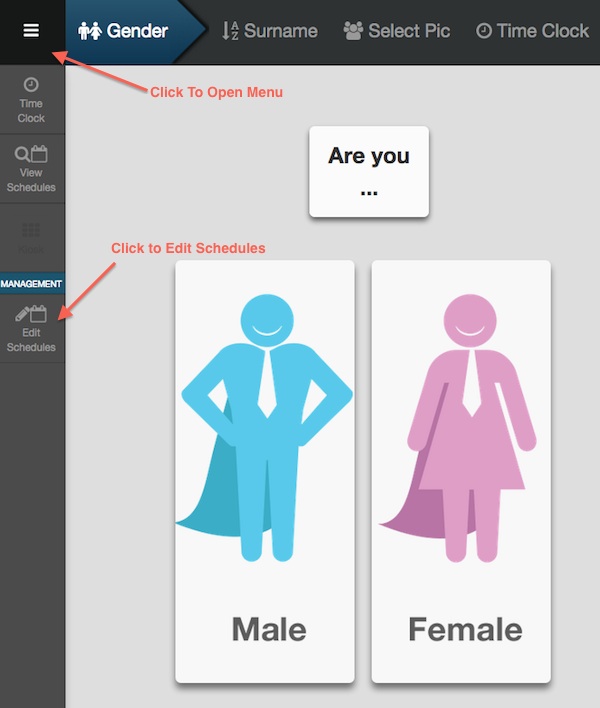
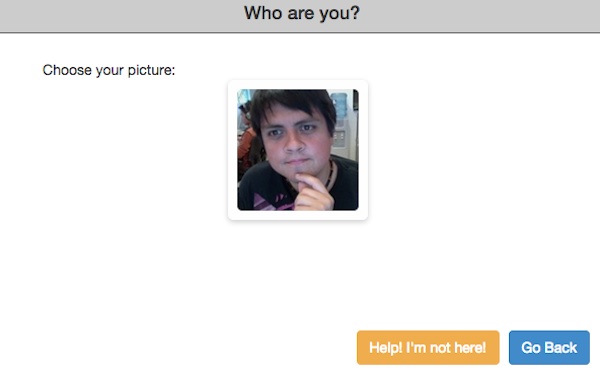
You will be presented with a screen asking you to identify yourself.
Select your picture from the list and prepare to take a picture to verify your identity.
If your picture is not on the list, you might not be registered as a manager who can Edit Schedules.
After taking your picture, you will be taken to the Edit Schedule Main Screen.
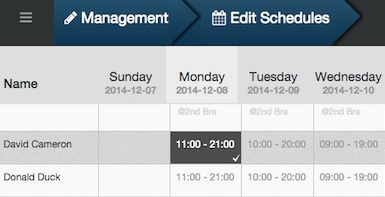
On this screen you can Add, Edit and Remove an Employees Schedule.
Adding New Shifts
Select one or multiple empty space(s) were you want to add a shift.
The selected dates will have a tick mark next to them and will be grayed out.

Then click at the botton the Modify button to Add a New Custom Schedule.
An add a “Custom Schedule” window will open.
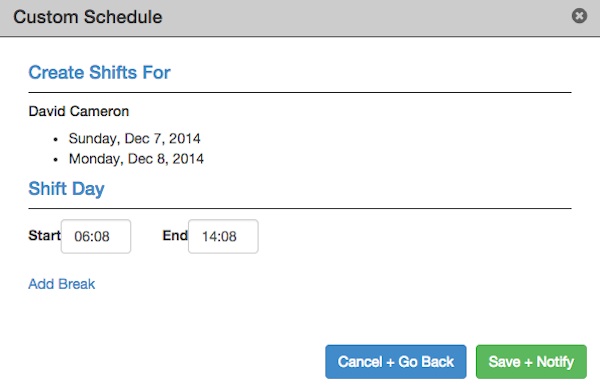
Verify the desired dates, add a Start and End time, and select if you want to Add a Break.
Once completed, click on the Save + Notify button, and the schedule will be added to the schedule.
Modifying a Shift
On the main Edit Schedule Main Screen, select the shift you want to edit.
and click the Modify button at the bottom of the screen.
You will be presented with the Custom Schedule Creation Screen.
Verify the correct Employee Name(s) and Date(s) and then click to change the Start and or End time and if you want to Edit or Add a Break.
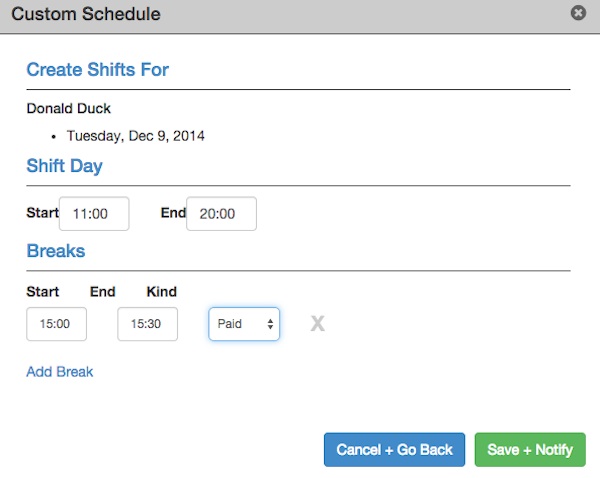
Once ready click the green Save button to confirm the modification.
Deleting a shift
Select one or multiple shifts you want to delete.

Click the Remove button at the bottom of the screen.
![]()
A confirmation window will pop up.
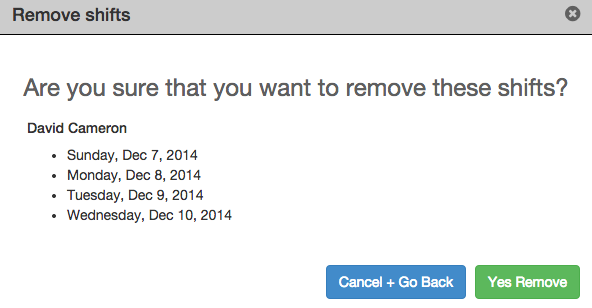
Verify the Employee and Dates and once ready click on the green “Yes Remove” button.
To reflect the changes you might need to refresh the Edit Schedule Main Screen, to do so, click on the Refresh Data button at the bottom of the screen.
![]()
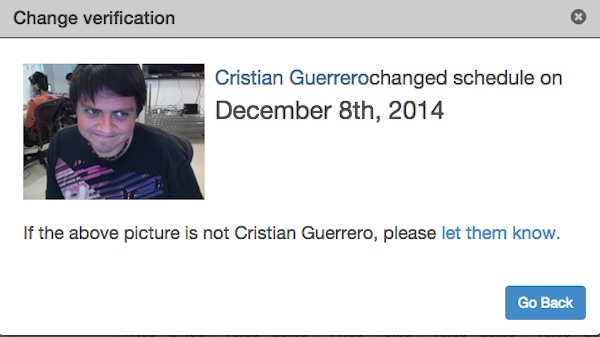
Checking who Added or Edited a Shift
Newly added and edited shifts will have a plus sign at the bottom.
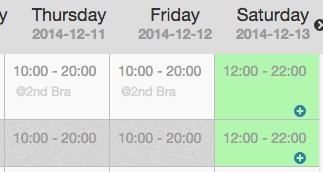
By clicking on the plus sign you can view information about the edit.