There is an option on the system to add the company logo on the documents page. However, you would need basic HTML knowledge in creating them.
To add the logo on the Documents:
- Go the Settings page
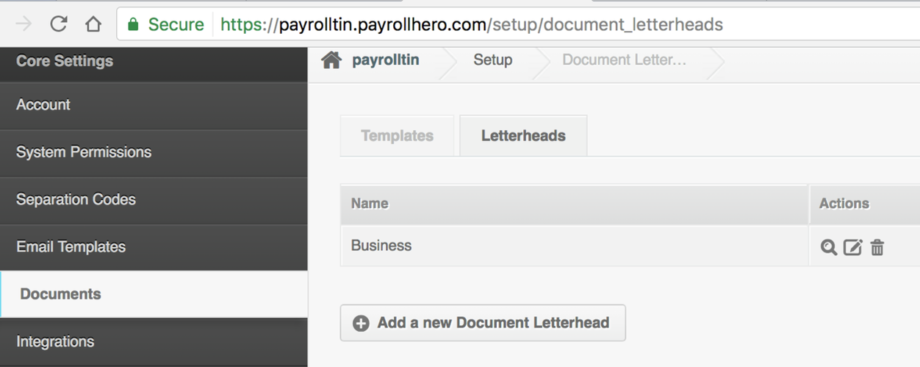
- Click on the Documents page.
- Click the “Letterheads” tab
- Click on “Add a new Document Letterhead” or EDIT the “Business” letterhead

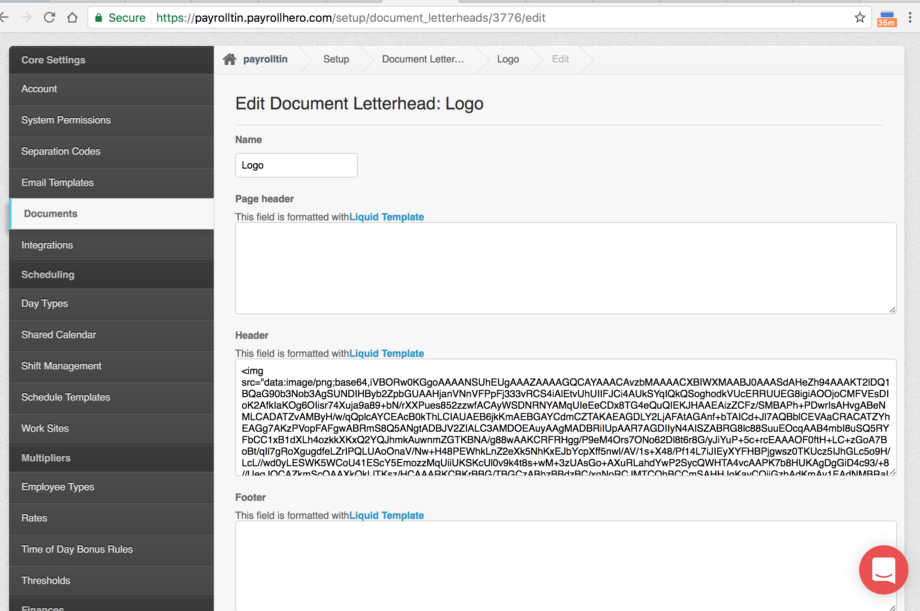
- Under “Header” use this code to add the logo:
<img src="IMAGE LINK" width="100" height="100">
- The image that you need to use should be public and can be used in HTML.
- You can try using https://www.base64-image.de/ it allows you to encode the whole image in the img tag for HTML.
- Once you have the image link, add it to the code you’ve added under the Header field.

- Feel free to add/customize the other field if you want.
- At the bottom of the page, click on “Update” or “Create” if you created a new letterhead.
To view the logo you added:
- On the Documents page.
- Click on “Templates”
- Choose the Document that you want to add the logo
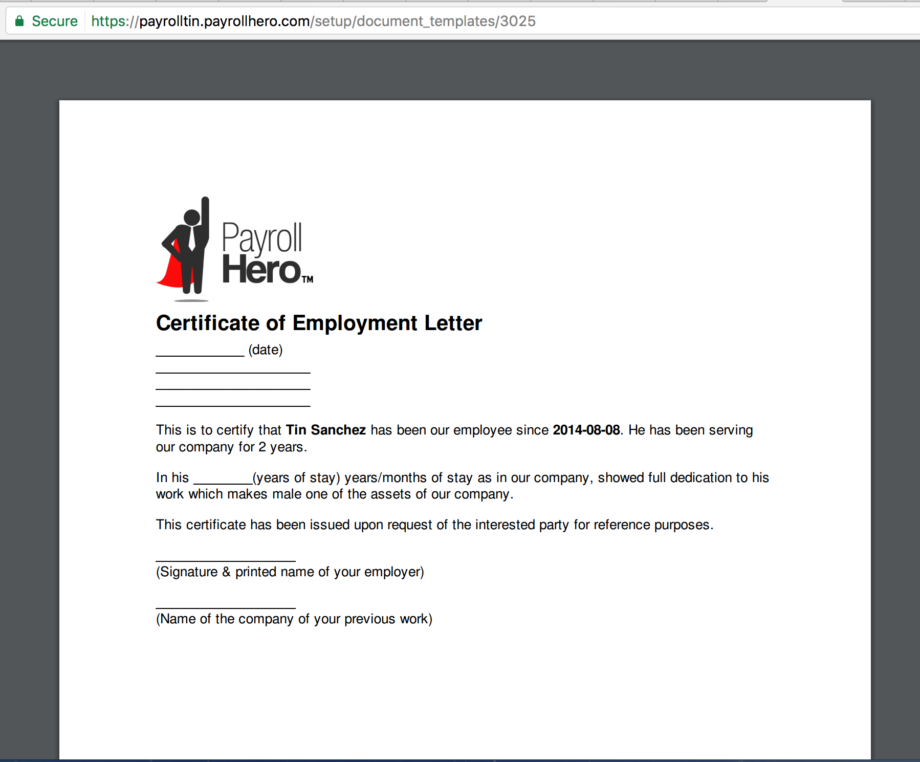
- To view the logo, click on the magnifying glass icon to view the PDF and the logo you added.
- It should look something like this

- If you require any tweaks to the logo, you would need someone who is familiar with HTML to help you here.
- A small bug though that we found when trying to edit the code:
- Once you save the code, and try to edit it again, it shows the 500 error. We’ve reported this to our engineers. The workaround fix is that you must remove the whole code, save it, and add it again with your edit.
To choose a specific letterhead on the document
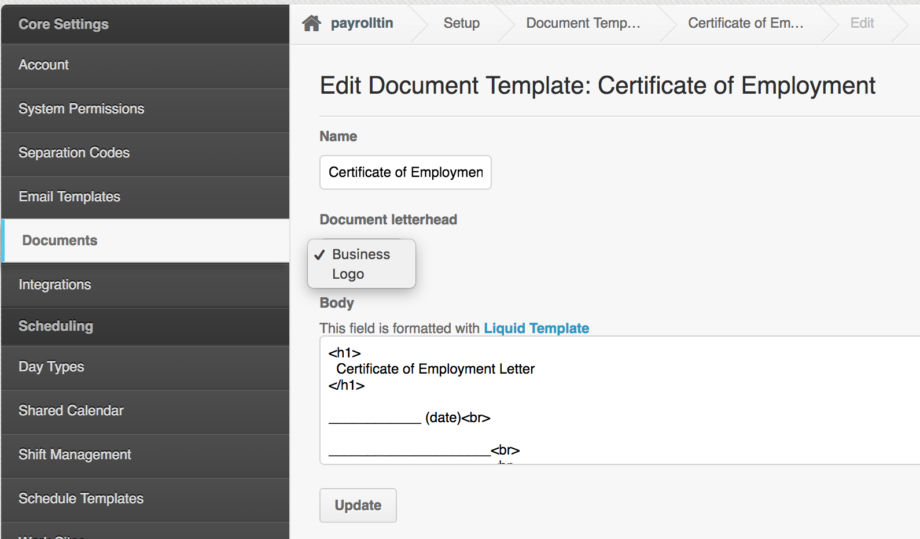
- EDIT the document
- And from there, you can select which letterhead to use:

- And then click on “Update”
And that’s it! You’ve added a logo on your PayrollHero Documents 🙂
If you have any questions or feedback, please email us at support@payrollhero.com
