Approved Site IPs lets you add your office IP address on your PayrollHero account. This feature should prevent your employees to clock in/out outsite the office IP.

Here’s how to setup approved IPs on your account.
- Go to your Settings page
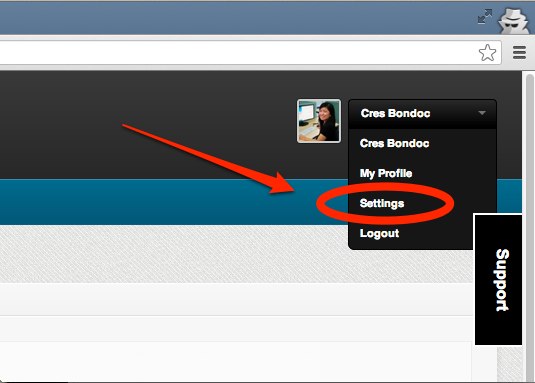
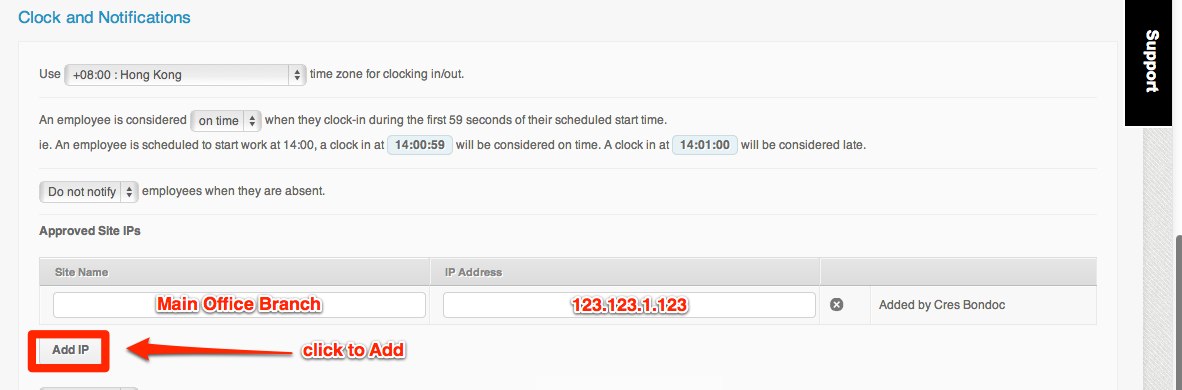
- Scroll under “Clock and Notifications”
- Click on

- On the “Approved Site IPs”
- Add a name for your IP address under the “Site Name”
- Then add your IP address under “IP address”
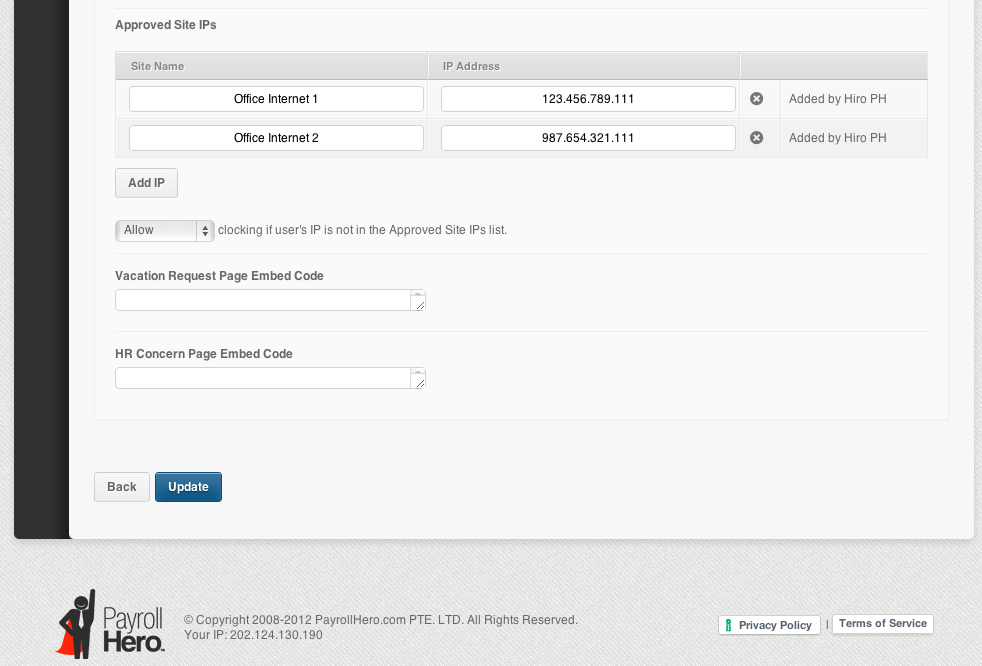
- On the drop down list, there is an option to “Allow” or “Do not Allow” clocking if user’s IP is not in the Approved Site IPs list.
Allow – means that employees should still be able to clock in/out even if they are outside the office IP. However, employees would be asked why are they clocking in off site. Both HR and the employee will then receive Off-site email notifications.
Do not allow – means that employees won’t be able to clock in/out outside the office.

- Once you are done, click on “
 ” and that’s it!
Quick Tip:
- If you check beside our PayrollHero logo on the bottom of the page, you should be able to see the current IP address that you are using. You can copy and paste that IP address on your settings page to setup the “Approved Site IP” feature.
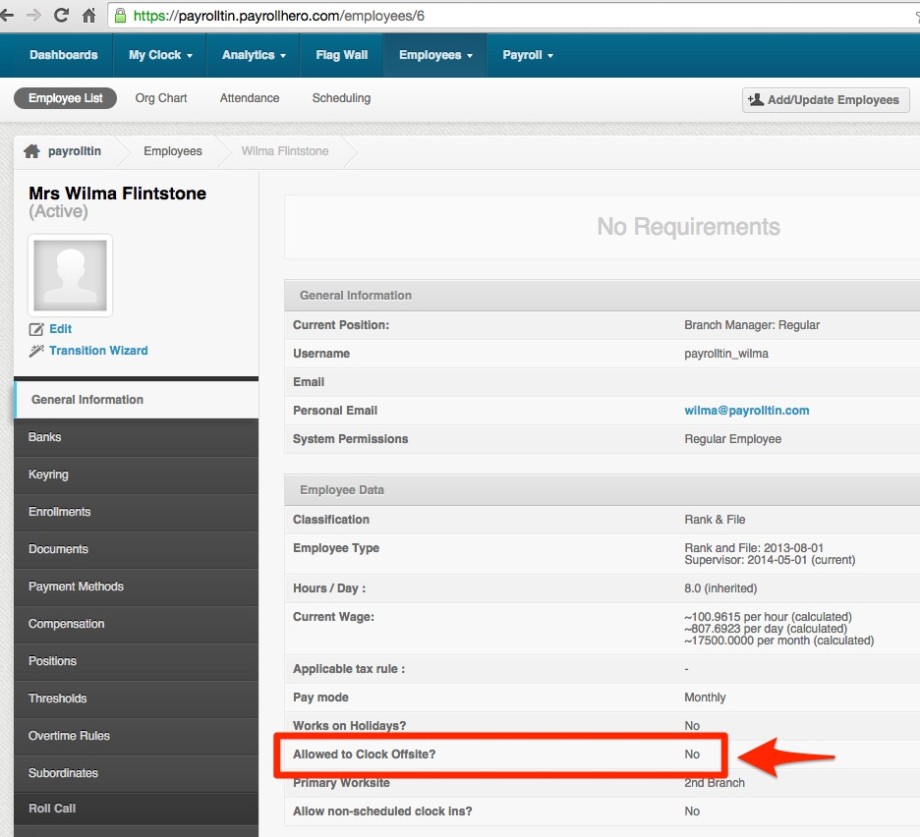
- If the employee is set up to clock offsite, this lets them clock in and out outside of the IP address. (See screenshot below)

NOTE:The IP address is currently only for the MyClock that is on their web account. If they are using our iOS apps or the TeamClock Chrome App, we currently do not support yet the “Approved IP settings” on our apps.