Skip to the next step by clicking here
Creating a Shift
Shifts can be assigned individually to an employee or used within a weekly template. Here is how to set them up:
1. Go to your account settings page.
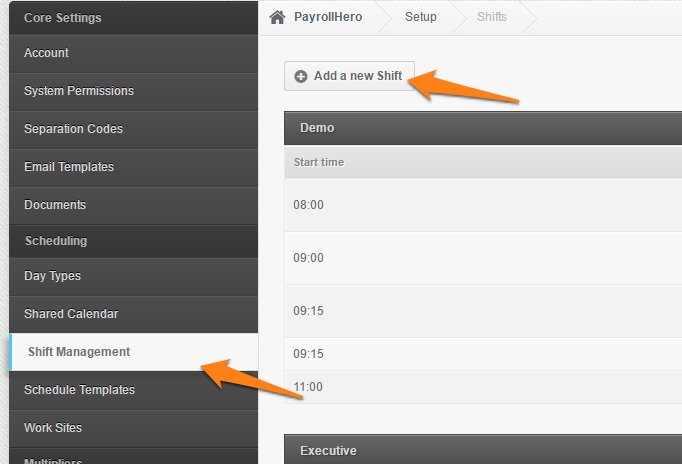
2. Click “Shifts”. Then “Add a New Shift”.
*Tip: Set a Category to help you remember where you put all the shifts you create.
3. Add the Shift Start and Shift End in the field provided. Make sure to follow the 24 Hour clock format where 12:01 AM is equal to 00:01.
4. Add a break
– Choose whether the break is Paid or Unpaid
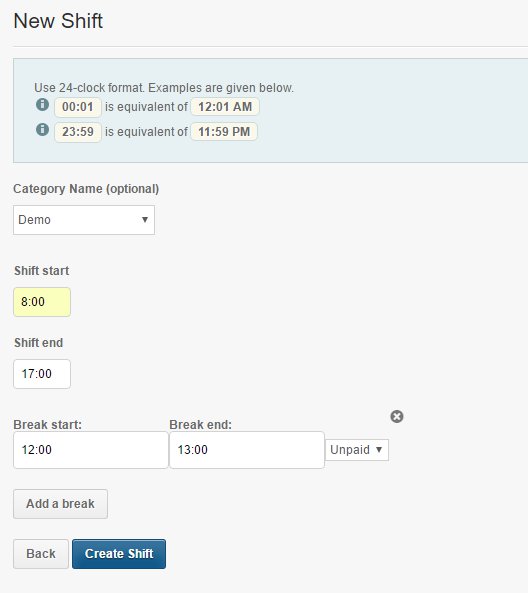
5. Click on “Create Shift” once you’re done.
6. You’ll the shift you created on the Shift Management page

Creating a Schedule Template
A Schedule Template is a set of shifts across a week that you can apply to your employees schedule. You don’t need to create these to assign a recurring schedule to an employee but they are incredibly useful if your employees always work the same recurring schedules
Here’s how to create Schedule Templates:
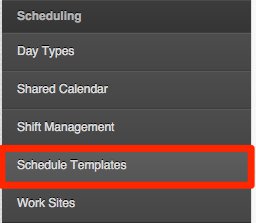
1. Go to Settings
2. Click on Schedule Templates
3. Click on “Add a new Schedule Template”

4. Enter the Name, Category and then plot a schedule for a weekly basis.
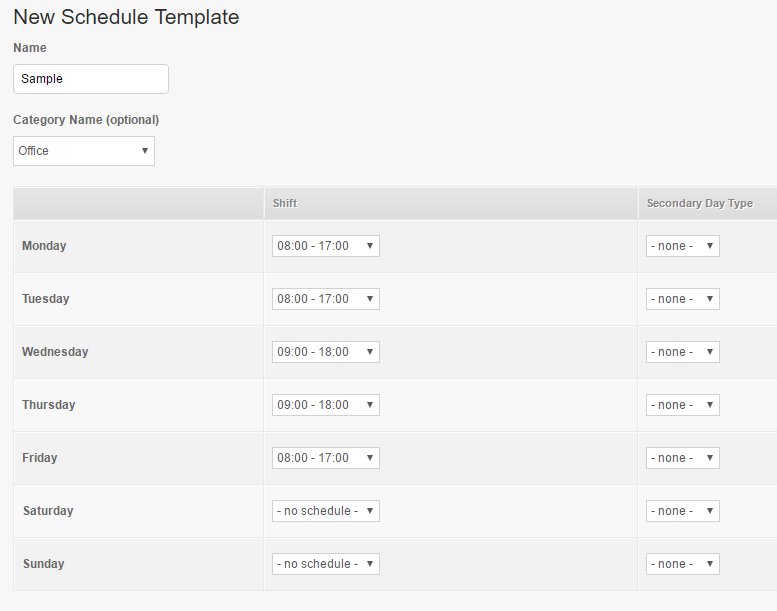
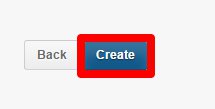
5. Click on “Create” once you’re done
You’ll see the Schedule Template once successfully created

Assigning a Recurring Schedule
The Schedules page is used to create recurring schedules for employees who have the same set of schedules for a given period. For example, an employee works from 7:00 a.m. to 3:00 p.m. on Mondays, Wednesdays, and Fridays and works from 11:00 a.m. to 7:00 p.m. on Tuesdays and Thursdays. He’ll be using this weekly schedule for two weeks only. His manager can assign him this recurring schedule that will end on the second week.
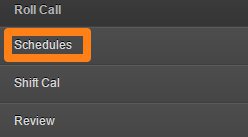
1. Under the Employee Profile, click on “Schedules’
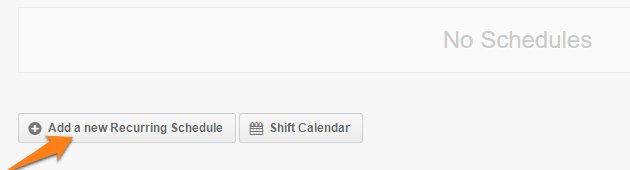
2. Click on “Add a new Recurring Schedule”
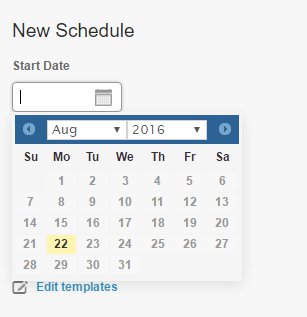
3. Choose a start date
4. Select an End date or you can select “Do Not End (Perpetual)”.
5. Select a schedule type and choose “Customize Schedule”. If you have created a Schedule Template you can add it here.
6. Apply the shifts for each day of the week. To do this, make sure you’ve already created Shifts.
7. Check the tick box to “Lock Changes”
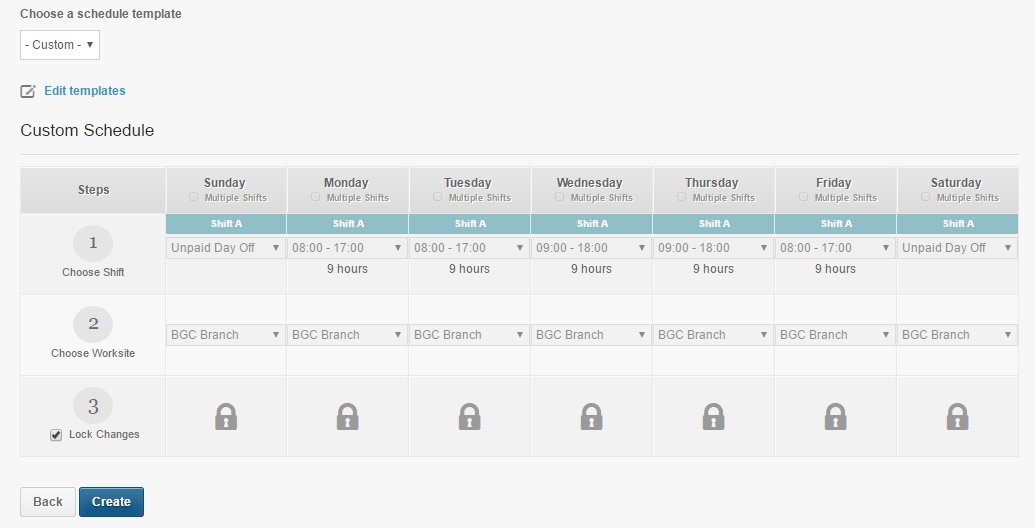
8. Click “Create”
You should see the recurring schedule once back to the Schedules page

Next Step: Setting Up Thresholds
![]()