The multi insert tool is the recommended way to create multiple employees on the PayrollHero system. It is the most time efficient way, and we recommend using this when you need to create a large amount of employee profiles. The system automatically generates a bespoke template for you to complete. It is designed specifically for your company and its settings. This article will explain how to use the feature.
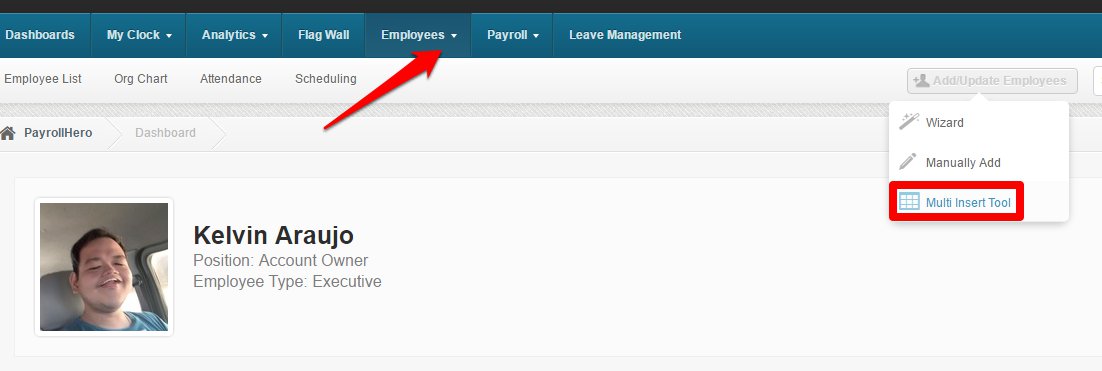
1. Click on the Multi Insert Tool.
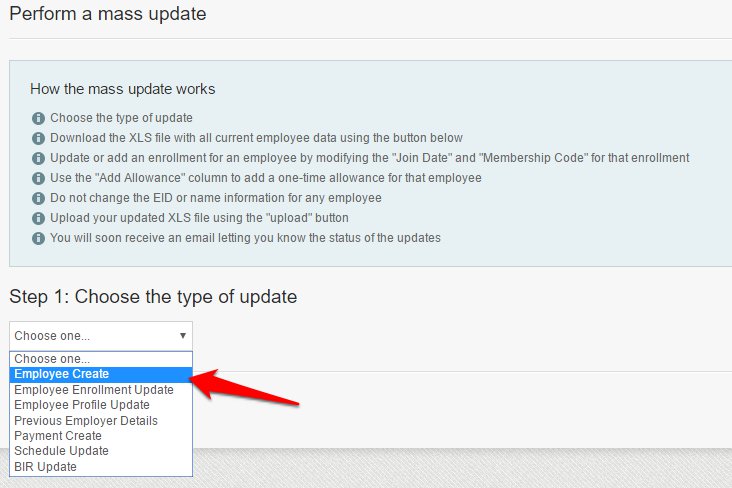
2. Choose “Employee Create” for the type of update.
3. Then click on “Download Update File”.
4. Now open the downloaded file in your spreadsheet software, but keep the Multi Insert Tool page open.
The file name will be yourcompanyname_employee_create_form_YYYY_MM_DD.xls
If you don’t have spreadsheet software download OpenOffice – https://www.openoffice.org/
5. Input your each employee’s details on a separate row.
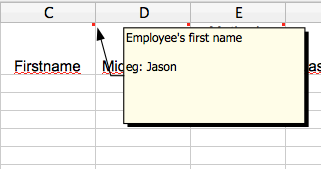
When entering the employee information, if you are unsure exactly what the column is for, hover over the top right corner of the column title and a description will appear.
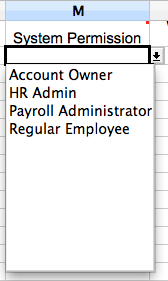
Some columns have drop down menus. These contain the values the system expects to find in these columns. They are customized to match the options for your company. Make sure to use them.
6. Once you have entered all of your employee’s information save the changes to the spreadsheet.
7. Now go back to the Multi Insert Tool and upload the updated spreadsheet.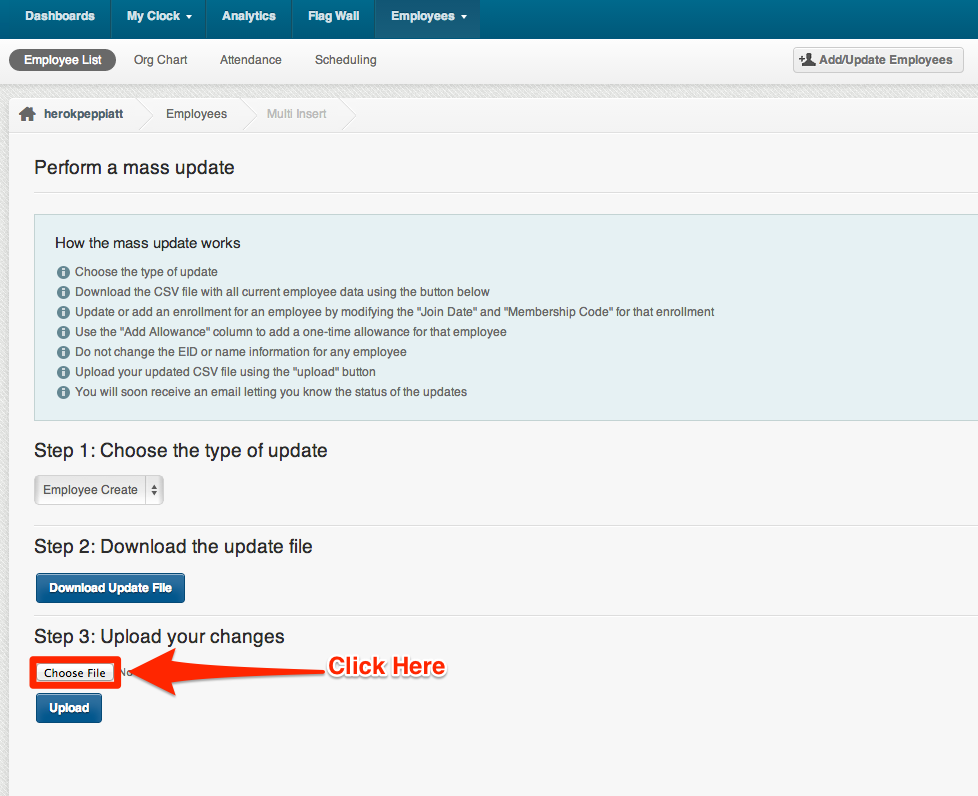
This button might look different on a windows computer but the process is exactly the same.
8. Click “Upload”.
If the upload was successful the message below should appear at the top of your screen.
If you are using Google Chrome, right click on this image and press “Open Image in a New Tab” to make it bigger.
You have now successfully used the Multi Insert Tool. Use this any time you need to create multiple employees. If you need to create individual employees we would recommend using the wizard.
If you have any further questions, please send us a message on our requests page at support@payrollhero.com – we’d be happy to help.

