This article will explain how to add a new employee to your company using the wizard function. There are two ways to setup a new employee and it’s really down to your personal preference which one you use. Doing it with the wizard means it’s quick, easy and PayrollHero will walk you through each step.
1. Open the “Employee Wizard” menu
If using Chrome, right click on the above image and click “Open Image in New Tab” to make it larger
2. Complete the “Employee Info” section
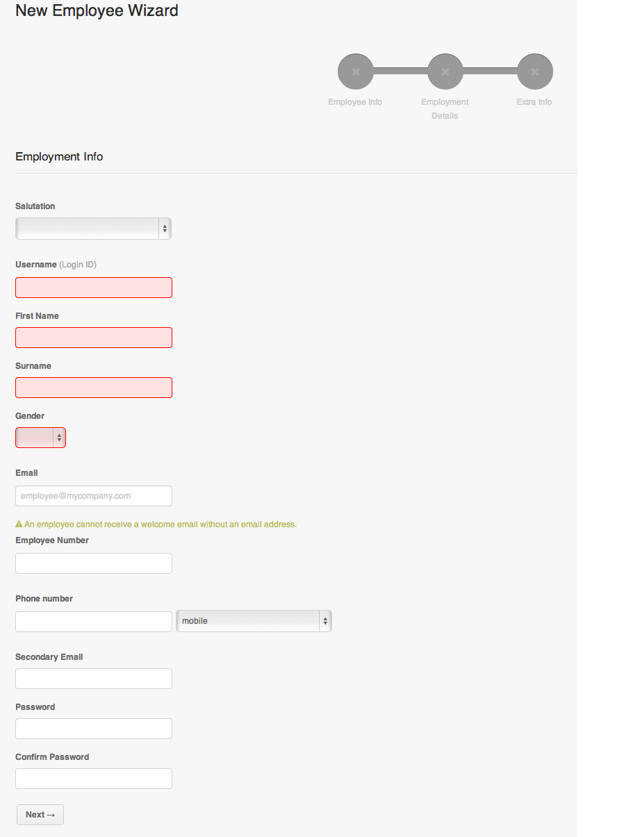
For this section, the following must be completed:
- Username
- First Name
- Surname
- Gender
However you should try to give as much information in each section as possible. The best practice would be to include an email address, so that a welcome email can be issued right away.
You do not need to include a password, the system will automatically generate one for you.
3. Now complete the “Employment Details” section
For this section, the following must be completed:
- Employee Type
- System Permissions
- Employment Date
You will also want to change their “Position” to their current one. It is usually default to account owner (as the list appears in alphabetical order.)
Lastly you will want to choose their Schedule. This can always be set later but the employee won’t be able to clock in or out, unless you have allowed unscheduled clock ins.
4. Complete the “Extra Info” section
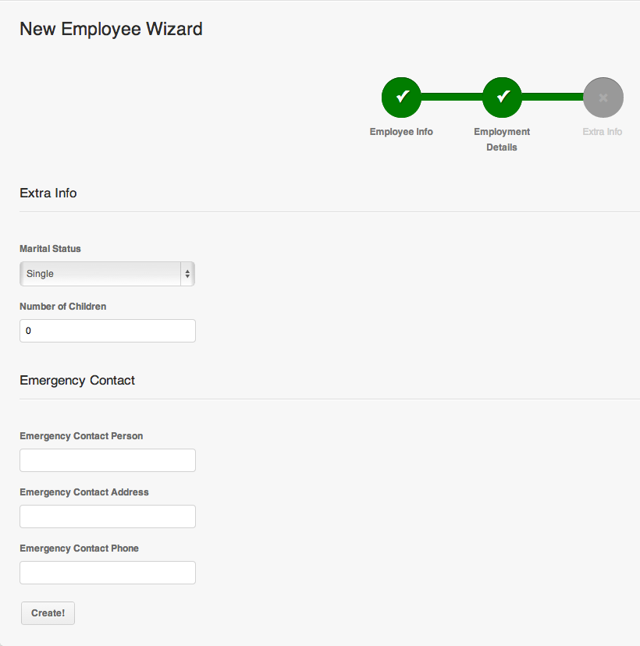
None of this section is actually mandatory, but as mentioned before it is best practice to include as much information as possible.
5. Finally hit 
There you have it! Your newest employee has been created. Repeat this for all new employees or you can manually add them. It’s really a matter of preference, the choice is yours.
Reminder:
- New Hires
– If you would like to generate the payroll of the new hires based on their employment date that started in the middle of the cut off, make sure to set their pay mode to “Hourly” and then just update this to “Monthly” for the next cut off (if they are monthly paid employees)
– Please also double check the following effectivity dates and make sure it is set within the pay period:
– Employee’s position
– Employee type
– Payment Method
– Employment date
That concludes the ‘How To Add A New Employee Using The Wizard’ article. You should now be able to add a new employee, confidently.
If you have any further questions, please send us a message on our requests page at support@payrollhero.com – we’d be happy to help.