1. Click on the Multi Insert Tool.
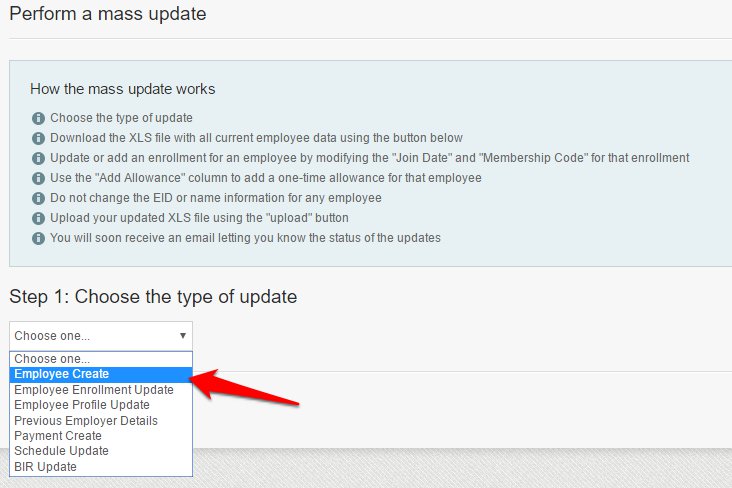
2. Choose “Employee Create” for the type of update.
3. Then click on “Download Update File”.
4. Now open the downloaded file in your spreadsheet software,
but keep the Multi Insert Tool page open. The file name will be yourcompanyname_employee_create_form_YYYY_MM_DD.xls
*If you don’t have spreadsheet software download OpenOffice – https://www.openoffice.org/
5. Input your each employee’s details on a separate row.
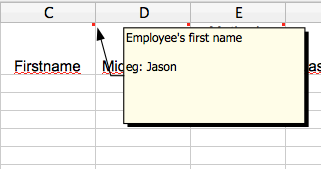
When entering the employee information, if you are unsure exactly what the column is for, hover over the top right corner of the column title and a description will appear.
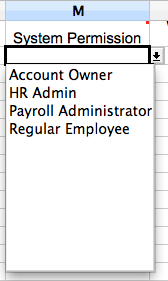
Some columns have drop down menus. These contain the values the system expects to find in these columns. They are customized to match the options for your company. Make sure to use them.
6. Once you have entered all of your employee’s information save the changes to the file.
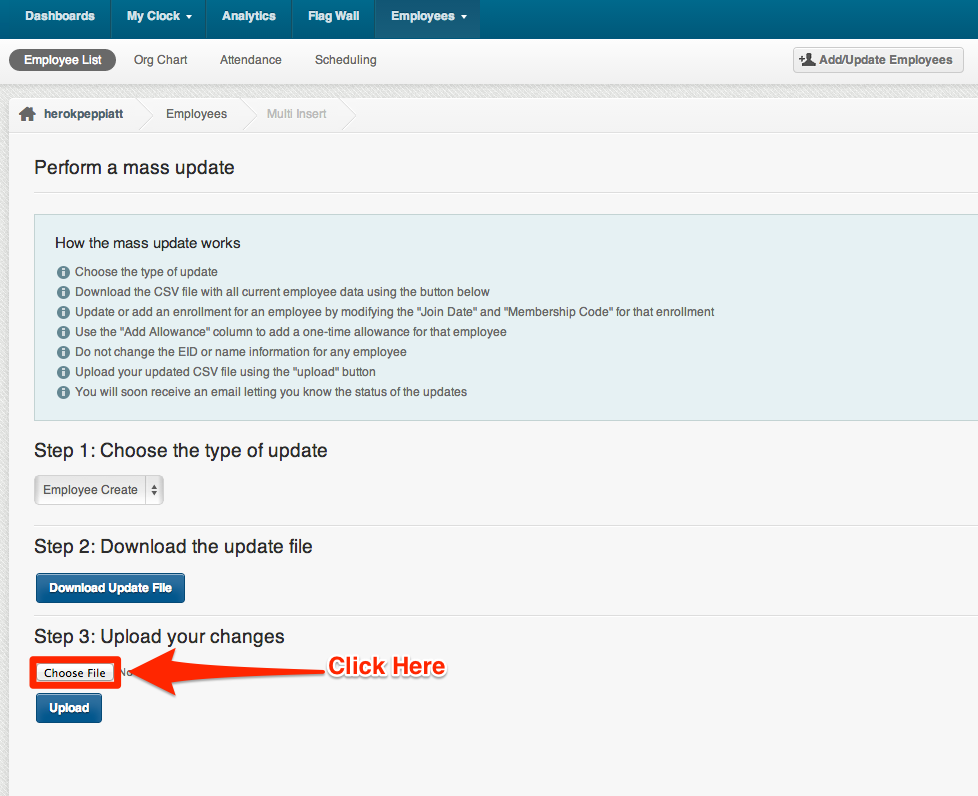
7. Now go back to the Multi Insert Tool and upload the updated spreadsheet.
*This button might look different on a windows computer but the process is exactly the same.
8. Click “Upload”.
You’ll get this message notification at the top of your screen once you’re able to upload the file.
*If you are using Google Chrome, right click on this image and press “Open Image in a New Tab” to make it bigger.
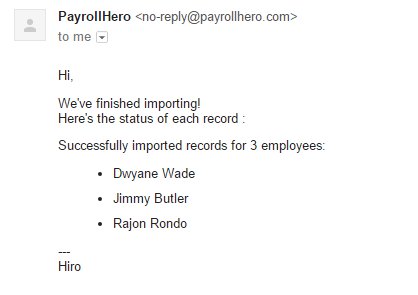
9. You’ll receive an email from PayrollHero regarding the result of your Upload
Next Step: Setting up your Clocking Devices
Nice work, your employees are now on the system. Lets setup your clocking devices so we can get them clocking in and out on your account.


