You can create any type of allowances on your PayrollHero account. Allowance Templates can be created on the Positions under the Settings page. Please see the instructions below:
1. Log in to your PayrollHero account and go to settings
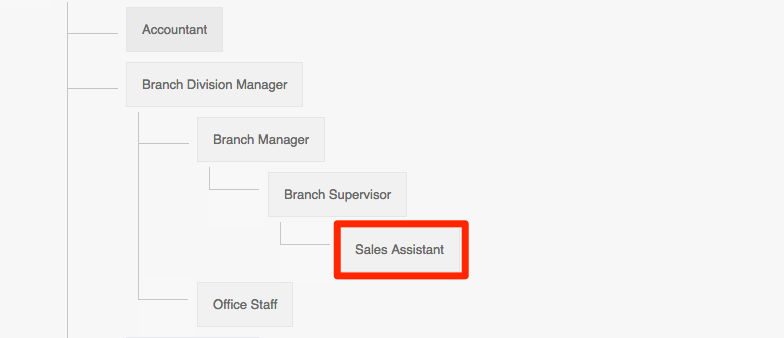
2. Under the Positions Tab select a positions that you want to add the COLA.
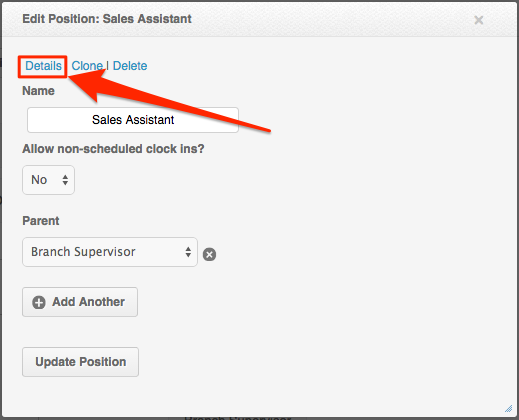
3. Click on the details
4. Click on the Allowance Templates Tab
5. Click “Add a new Allowance Template” 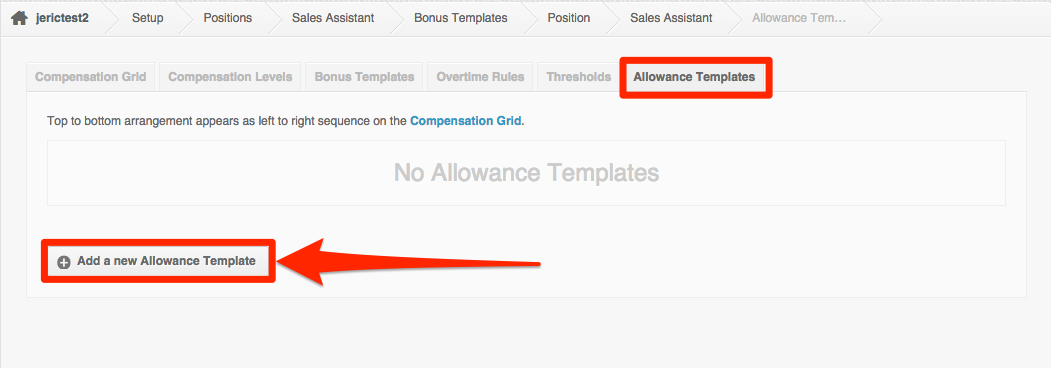
6. There are different settings on how you can add an allowance. Please see screenshot below:
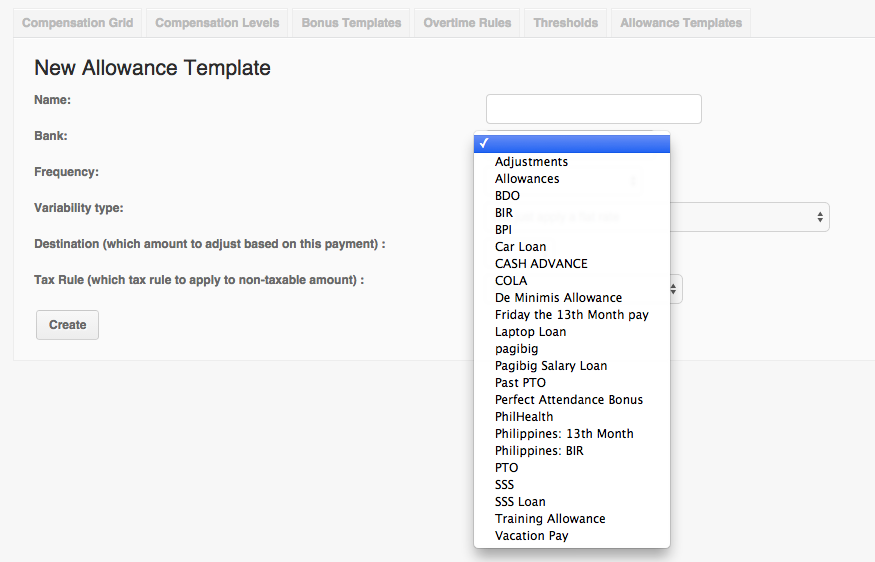
Name – You can name any type of allowance you want. This will also show on the employee’s payslip.
Bank – Allowance also needs a bank so it will record any type of allowance you have created. It would be best to create one if there is no bank yet for a specific allowance.
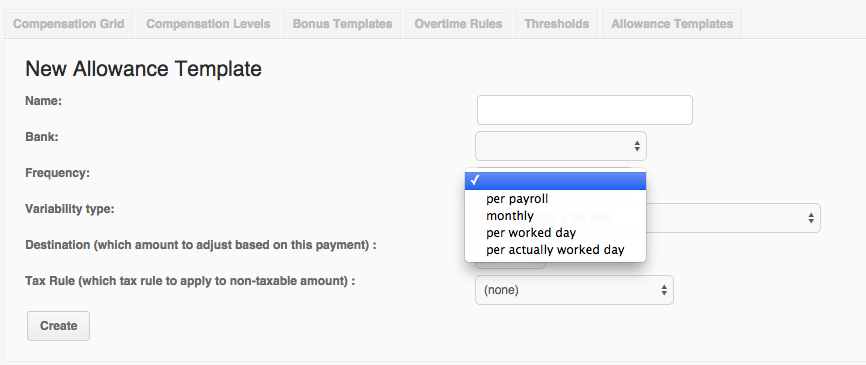
Frequency – This is where you can set up how you would like to credit the allowance to the employee.
- Per payroll – The allowance will be credited to the employee’s payroll ever pay period. The amount added on the compensation grid should also be “split”. Example: An employee gets P5000 monthly for their allowance. This should be set up as P2500
- Monthly – The allowance will be credited to the employee’s first payroll. The amount added on the compensation grid should be the whole allowance. Example: An employee gets P5000 monthly for their allowance. This should be set up as P5000
- Per worked day – The allowance will be credited to the employee per worked day. This means as long as the employee has a schedule, they will be paid an allowance. Even if they did not clock in and out, they will still be paid. This is mostly used for the COLA allowance.
- Per actually worked day – The allowance will be credited to the employee if they actually clocked in and out on any specific day. This means as long as they have a clock in and out, they will be paid for the allowance. If they did not clock in, and they have a schedule that day, then they won’t get paid.
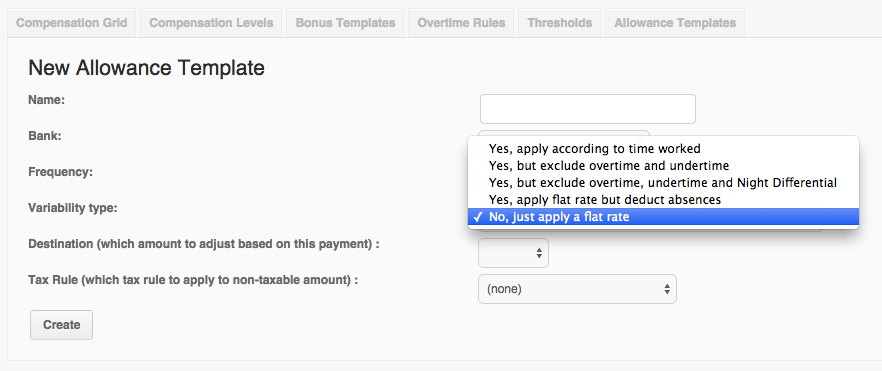
Variability Type – You can credit specific amount to the time the employee work. If you do not see this option on your account, please contact support@payrollhero.com. Please see screenshot below:
-
Yes, apply according to time worked – This means that a specific allowance amount will be credited to the hours/days they work, as well as if an employee took overtime, holiday and night differential. If they are also late or absent, they will also be deducted on the allowance.
-
Yes, but exclude overtime and undertime – This means that a specific allowance amount will be credited to the hours/days they work including holiday and night differential but excluding overtime and undertime.
-
Yes, but exclude overtime, undertime and Night Differential – This means that a specific allowance amount will be credited to the hours/days they work but excluding overtime, undertime and Night Differential.
-
Yes, apply flat rate but deduct absences – This means that a specific flat rate allowance will be credited to the employee however if they are absent, they will get a deduction on their allowance.
-
No, just apply a flat rate – This means that a flat rate allowance is credited to the employee. Even if they took overtime, undertime, night differential, they will still be given that flat rate amount depending on the frequency set for this allowance.
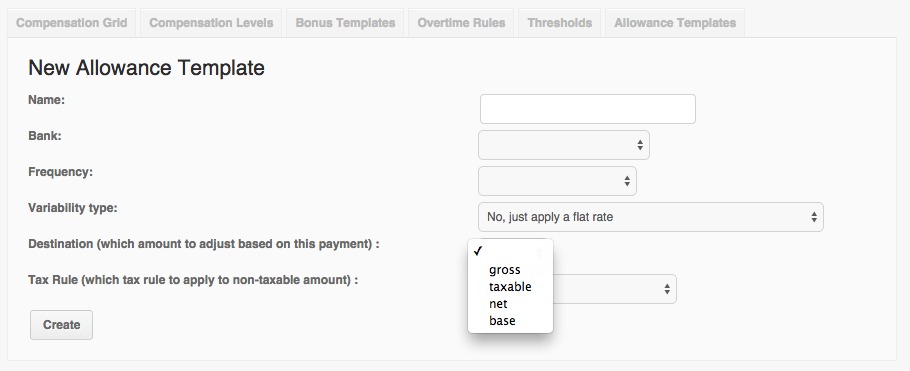
Destination – This is where the allowance amount will be credited.
-
Allowances that are credited under “Gross, taxable or base” means that the allowance is taxable.
-
Allowances that are credited under “Net” means that the allowance is non-taxable.
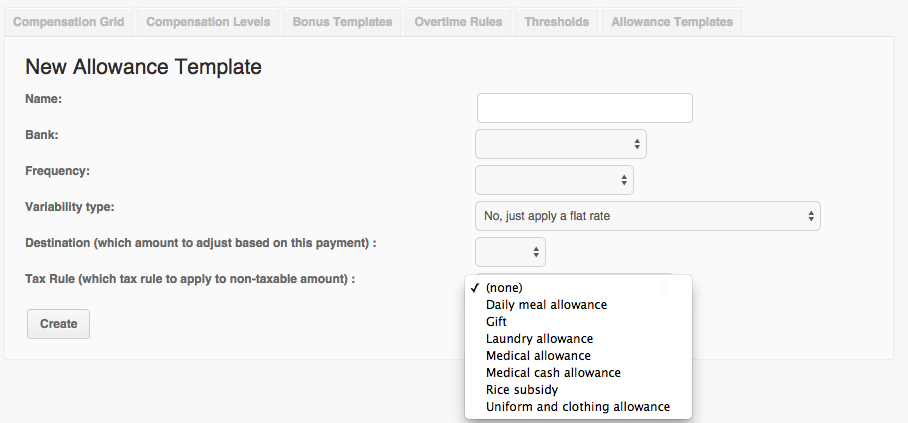
Tax Rule – You can set up a specific Tax Rule for any allowances. What this will do is that if the amount is within the Tax Rule setting. The allowance can be non-taxable.
Once you’re done setting up your allowance, click on “CREATE” and go to the Compensation Grid or to the employee’s profile and click on “Compensations” to add the amount for the allowance.
If you have any questions, feel free to email support@payrollhero.com